Email format error
Email cannot be empty
Email already exists
6-20 characters(letters plus numbers only)
The password is inconsistent
Email format error
Email cannot be empty
Email does not exist
6-20 characters(letters plus numbers only)
The password is inconsistent


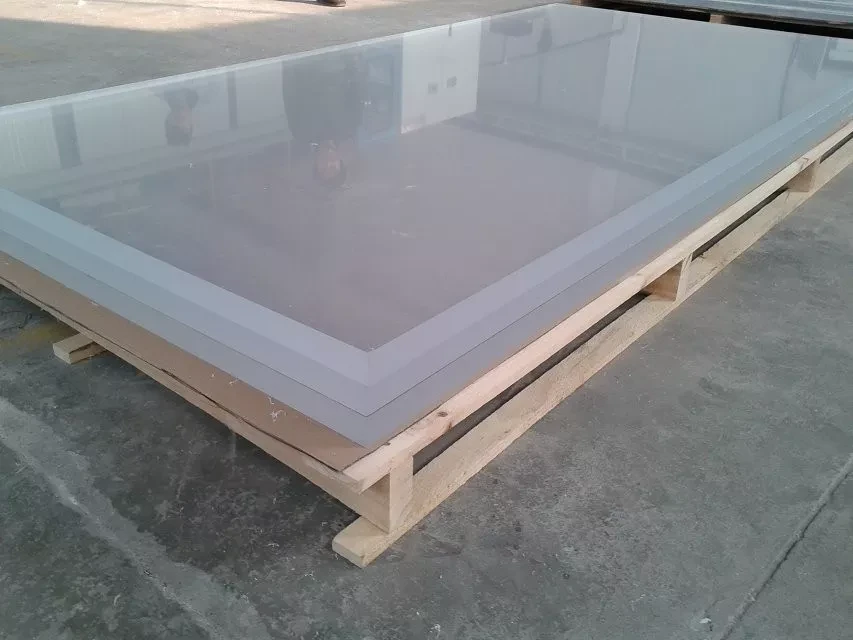
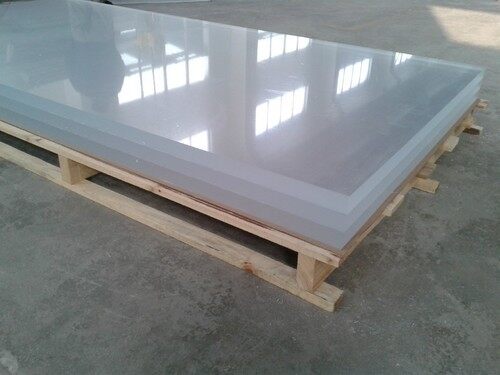
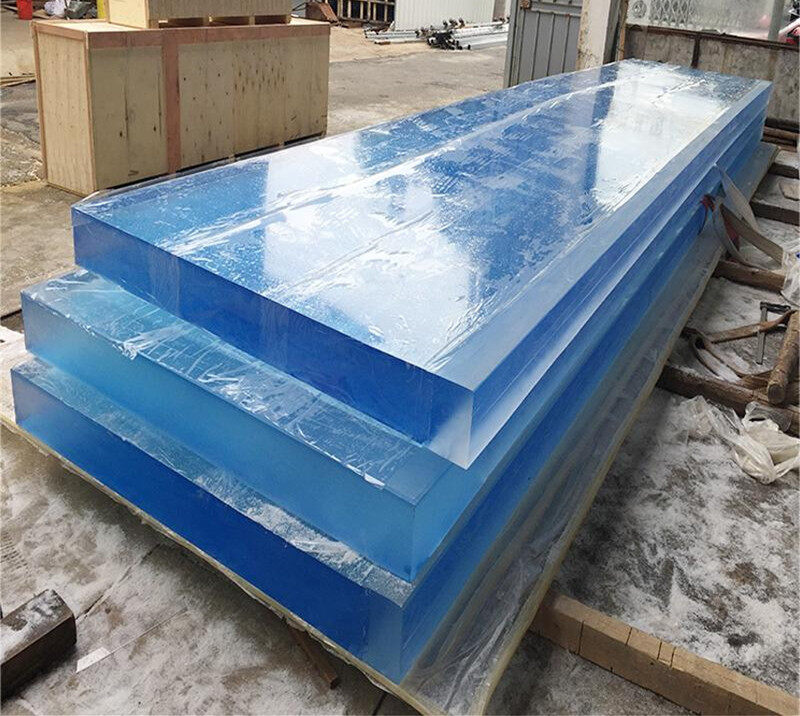

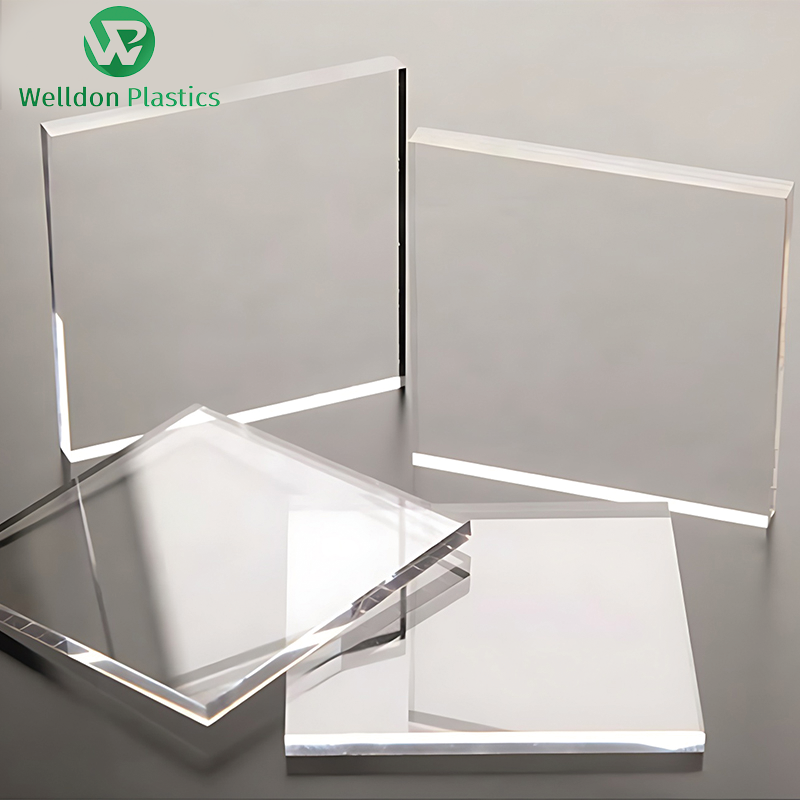
Aquarium Acrylic Sheet
The aquarium acrylic sheets are ideal for the large aquariums due to their strength and lightness, making them easy to move. While prone to scratches, careful cleaning can manage this issue. Acrylic tanks have durable, well-bonded seams and offer the versatility to create unique shapes. They also allow for easier drilling for fittings, enhancing customization options.
Aquarium acrylic sheet is an excellent material choice for crafting expansive and intricate aquatic habitats. Acrylic sheets for aquariums stand out for their exceptional clarity and strength, coupled with a significant weight advantage over traditional glass. This material not only ensures a seamless and panoramic view of your underwater world but also offers ease of handling and customization.
Features of Aquarium Acrylic Sheet
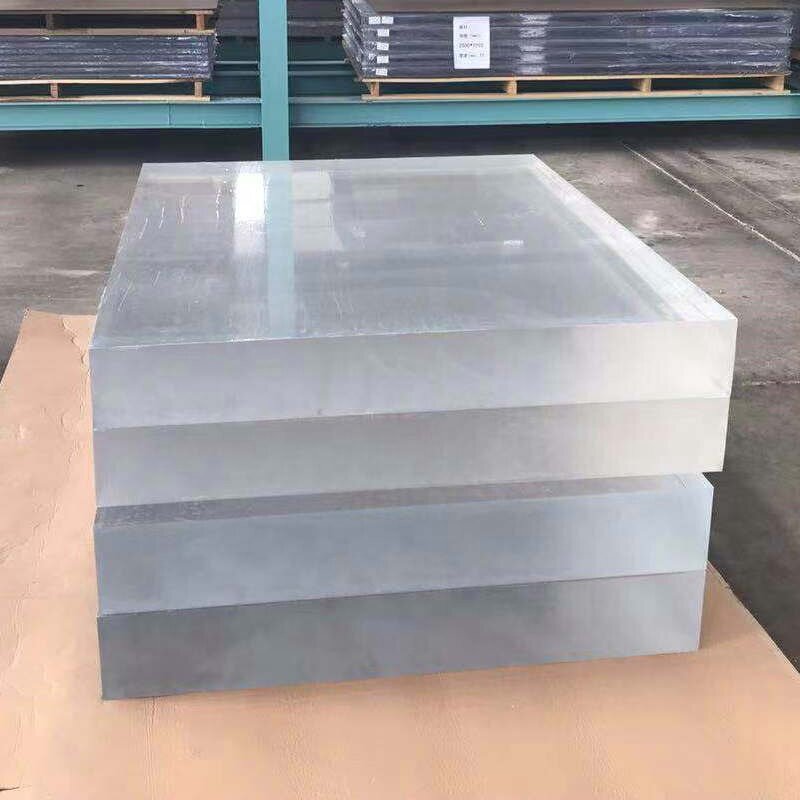
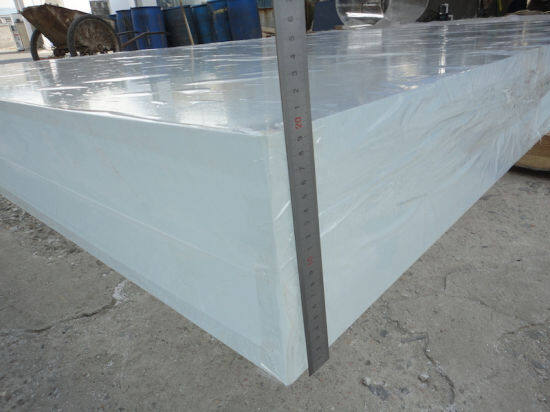
High Strength and Lightweight: Aquarium acrylic sheets are known for their robustness and are significantly lighter than glass, making them easier to handle and install for large custom-built acrylic aquariums.
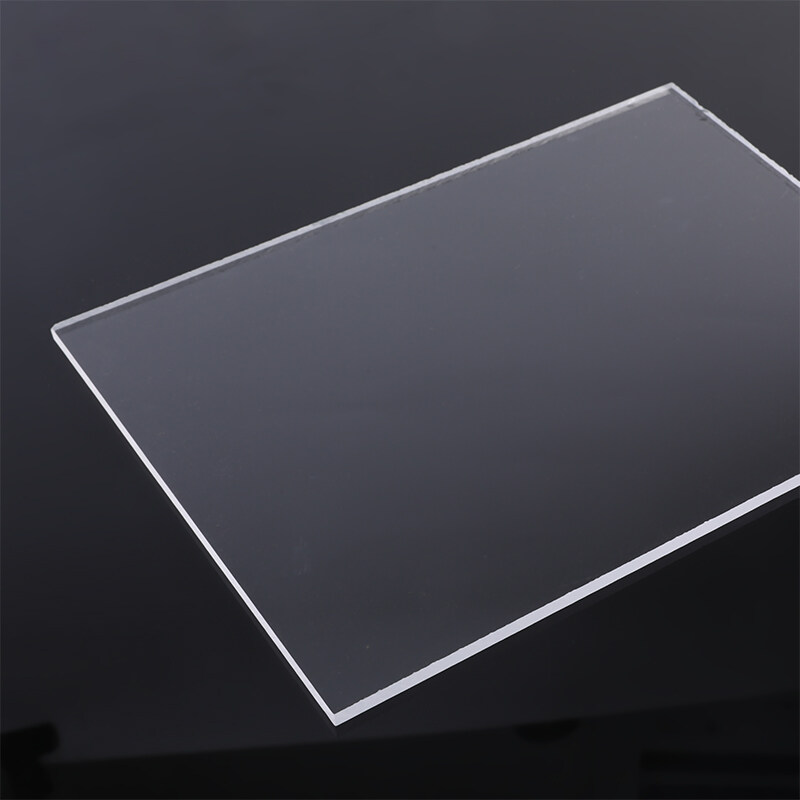
Visual Clarity: Acrylic sheets provide a crystal-clear view of the aquatic environment, enhancing the visual appeal of the aquarium.
Durability: Acrylic is less prone to breaking than glass, offering a safer and more reliable option for aquarium construction.
Custom Acrylic Aquarium Sheet Support: Custom acrylic aquariums can be tailored to specific dimensions and shapes, allowing for creative and unique aquarium designs.
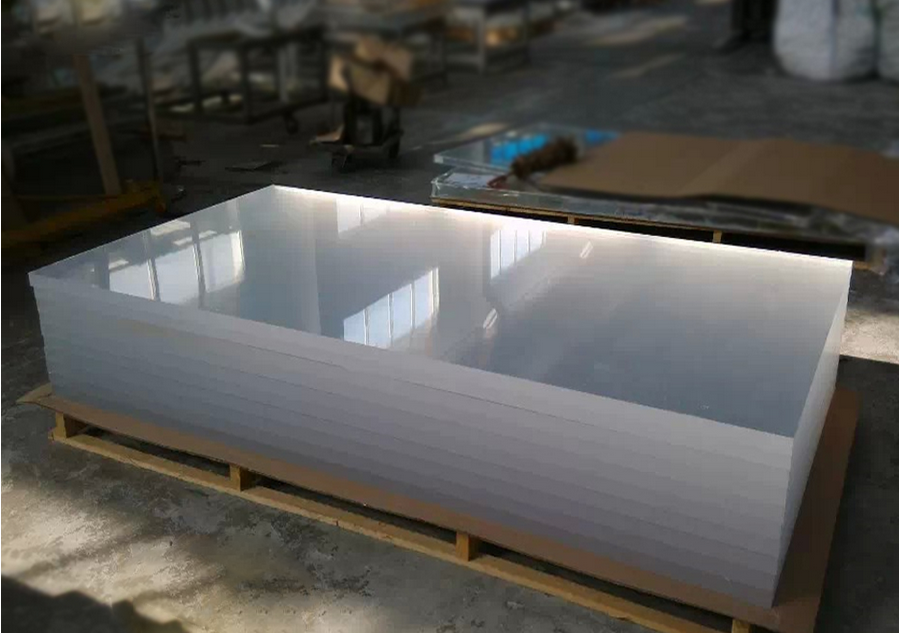
Various Acrylic Sheets Available: There is a wide range of acrylic sheets for aquariums for sale, catering to various sizes and specifications for both DIY enthusiasts and professional setups.
Advantages of Aquarium Acrylic Sheet
Impact Resistance: Aquarium acrylic sheets are significantly more resistant to impacts than traditional glass, reducing the likelihood of cracks and breakage, which is especially important for the structural integrity of custom built acrylic aquariums.
Insulation Properties: Acrylic sheets for aquarium provide better insulation compared to glass, helping to maintain stable water temperatures, which is crucial for the well-being of aquatic life.
Versatile Shapes: The malleability of acrylic allows for the creation of custom acrylic aquariums with complex and innovative designs that are not possible with glass, offering unique visual appeal.
Seamless Bonding: Acrylic sheets can be bonded with seams that are virtually invisible, providing a seamless look that enhances the aesthetic of custom built acrylic aquariums.
UV Resistance: Many acrylic sheets for aquariums for sale come with UV resistance, which helps prevent discoloration and maintains the clarity of the acrylic over time, ensuring that custom acrylic aquariums retain their pristine appearance.
Repairability: In the event of scratching or minor damage, acrylic sheets for aquarium can often be polished or repaired, extending the life of custom built acrylic aquariums and maintaining their beauty.
How to Make Your DIY Acrylic Sheets for Aquarium?
Step 1: Decide on the Size of Your Aquarium
Choose the desired dimensions for your aquarium, keeping in mind that larger tanks require thicker acrylic. Opt for moulded acrylic over extruded types for better quality.
Step 2: Order the Acrylic Sheet for Your DIY Aquarium
Order custom-sized acrylic sheets for your aquarium. These will be precision-cut for clean edges, facilitating easier bonding with acrylic adhesive.
Step 3: Preventing Marks on Your Aquarium Acrylic
Lay the sheets on a clean, flat surface with a soft cloth underneath to prevent scratches. Remove the protective film on one side and apply masking tape near the edges to guard against adhesive marks.
Step 4: Assembling Your Aquarium
Construct the aquarium on a sturdy, level surface, using support blocks and a spirit level for accuracy. Wear vinyl gloves to protect your hands and the acrylic from smudges.
Step 5: Finishing the Aquarium
Allow the assembled aquarium to dry for 6 hours before sealing the interior with an acrylic-friendly transparent sealant. After 24 hours of additional drying, the aquarium is ready for use.